about
click/drag/scroll the model to explore
click the dots below to view other models
tap/drag/pinch the model to explore
tap the dots beside to view other models
project name
Model Display Case
date
Nov. 2023
overview
As a Formula One enthusiast, I designed and built an acrylic case to display F1 models, which I recently begun collecting as a hobby.
background
Being an avid fan of Formula One, one of my hobbies involve collecting models of F1 cars.
After purchasing my first 1:18 scale F1 model, I was immediately excited to display it on my shelf. However, most F1 models feature delicate components and are rather difficult to clean, hence they are best displayed inside a protective case.
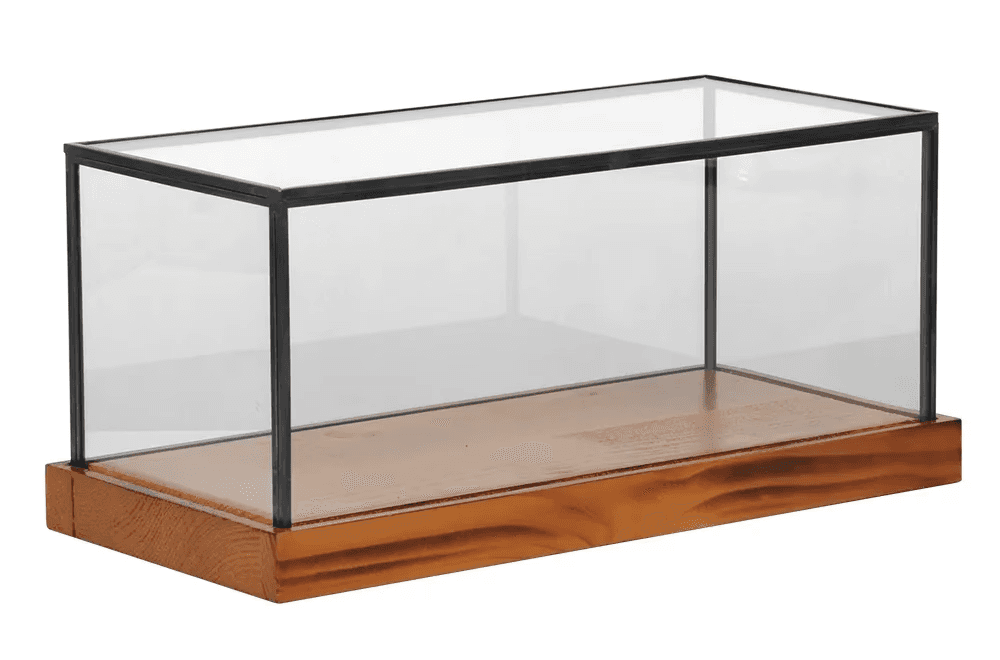
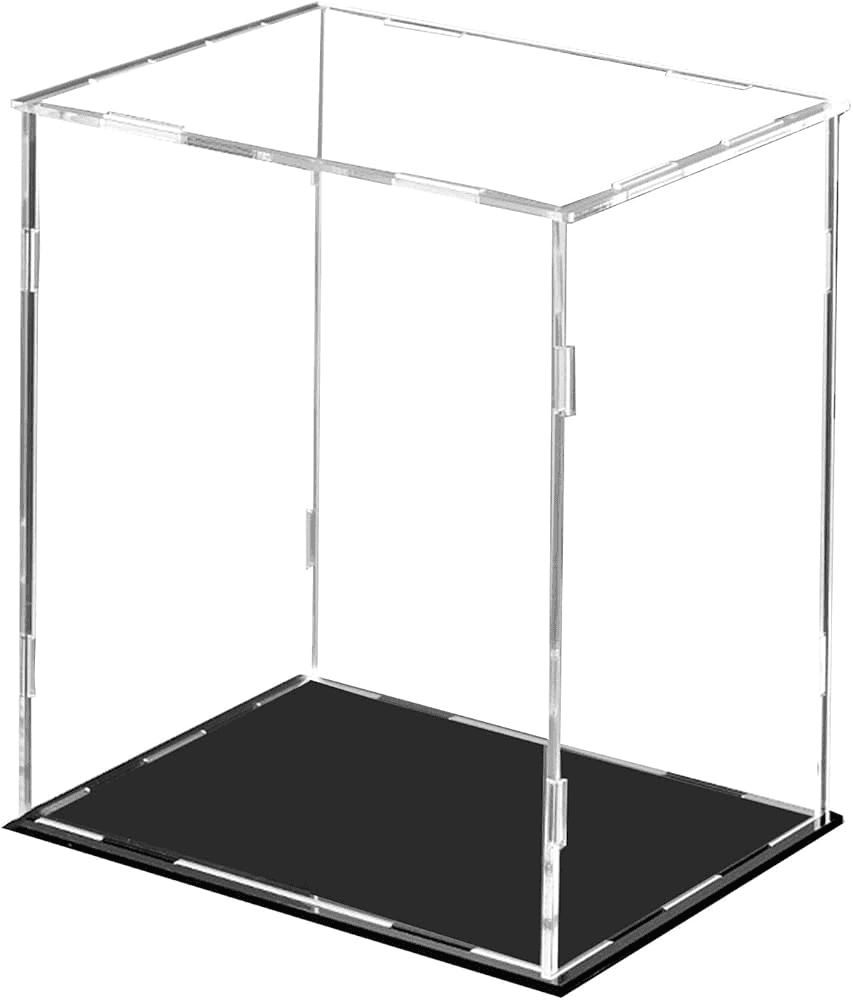
Hence, I spent some time browsing hobby stores and the internet for a 1:18 scale model display case, and came across numerous products that similar to those shown below:
A $70 display case.
Image credit: Slimline Warehouse
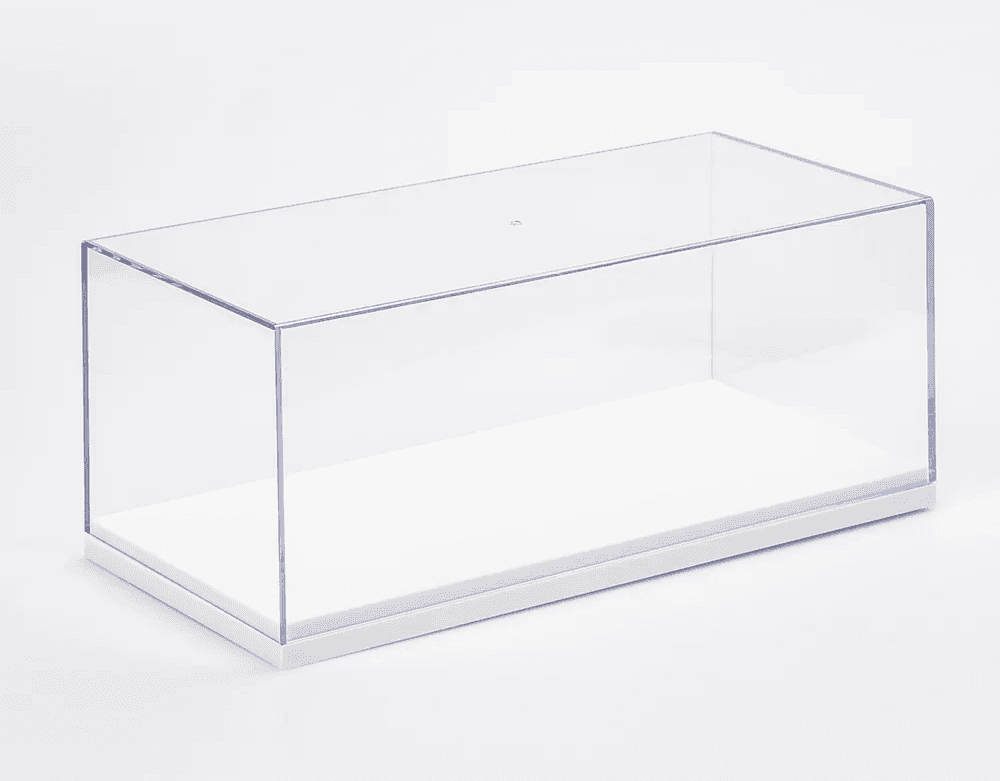
A $59.95 display case.
Image credit: Authentic Collectibles

A $149 display case.
Image credit: Onbrick
I noticed that most of these cases consisted of clear acrylic lids being set upon a resin, plastic, or wood base. Given the simplicity of these cases and their somewhat high price tags, I decided to design and build my own case.
background
Being an avid fan of Formula One, one of my hobbies involve collecting models of F1 cars.
After purchasing my first 1:18 scale F1 model, I was immediately excited to display it on my shelf. However, most F1 models feature delicate components and are rather difficult to clean, hence they are best displayed inside a protective case.
Hence, I spent some time browsing hobby stores and the internet for a 1:18 scale model display case, and came across numerous products that similar to those shown below:
A $70 display case.
Image credit: Slimline Warehouse
A $59.95 display case.
Image credit: Authentic Collectibles
A $149 display case.
Image credit: Onbrick
I noticed that most of these cases consisted of clear acrylic lids being set upon a resin, plastic, or wood base. Given the simplicity of these cases and their somewhat high price tags, I decided to design and build my own case.
key design choices
Similarly to many model display cases found in stores, my case consists of a wooden display base that is topped by a clear acrylic lid.
I decided to personalize the display case by designing its base with a recess that houses a removable plaque (see below). This was done so that I could swap plaques if I chose to display other models in the case.
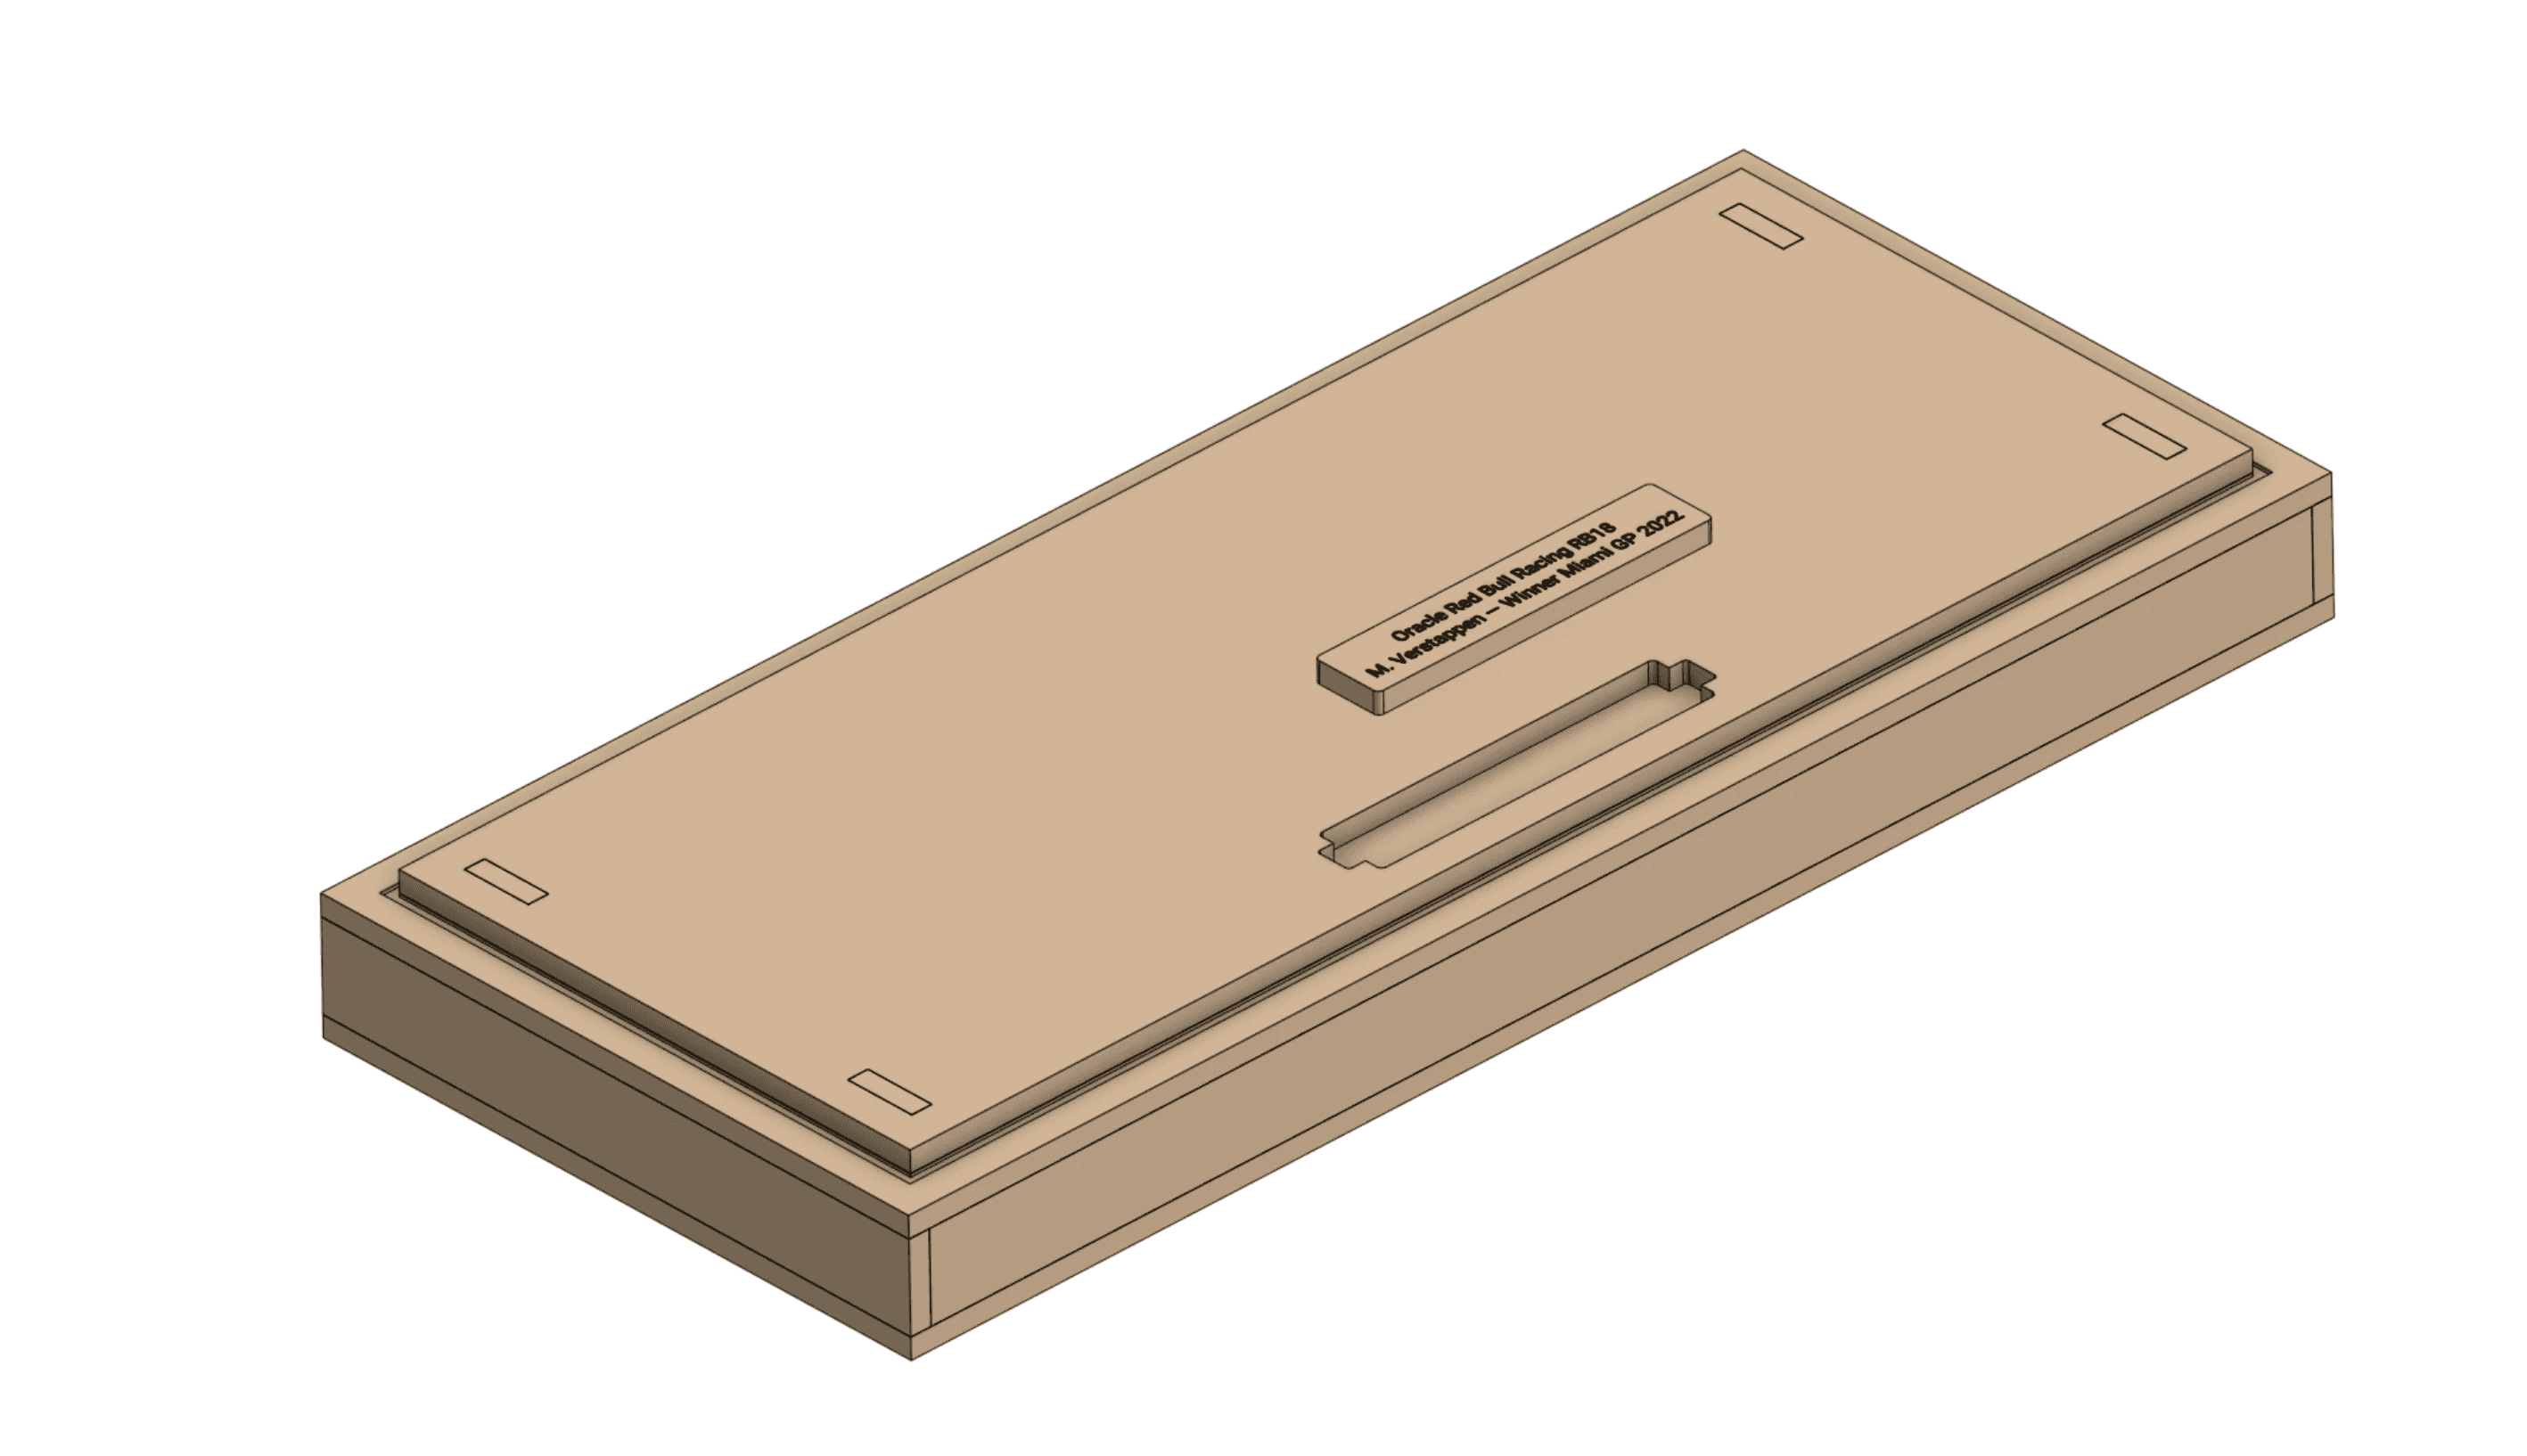
The display base with a recess in which plaque can be placed.
I also liked the minimalist aesthetic of a frameless acrylic lid, so I did not design my case's lid with box joints along its side panels (see below), since the box joints are rather visually distracting. However, omitting box joints in the panels makes it more difficult to join them into a rectangular lid, as explained below in the manufacturing section.
A joint-free display case that showcases the model without visual distractions from the box joints.
Image credit: Onbrick
Additionally, I designed the display base to have a removable top panel (shown below), since I wanted to fix the model to the display base with the screws that came alongside it.

The display base with its removable top panel.
manufacturing
I built my display case using the materials and equipment provided at the Telstra Creator Space, a fabrication lab used by University of Melbourne staff and students.
There were two major components for me to build: the display case's base and acrylic lid.
For the display base, I used a laser cutter to cut panels from a 6 mm MDF board, before using wood glue to stick them into a boxy platform.
I also used the laser cutter to engrave channels (pictured below) along the base's perimeter, so that the acrylic lid could be set on the base without sliding along its edges.

The channels engraved along the perimeter of the display base.
I later drilled holes into the display base's removable top panel for the model's mounting screws, as shown below.

The top panel of the display base with screw holes drilled into it.
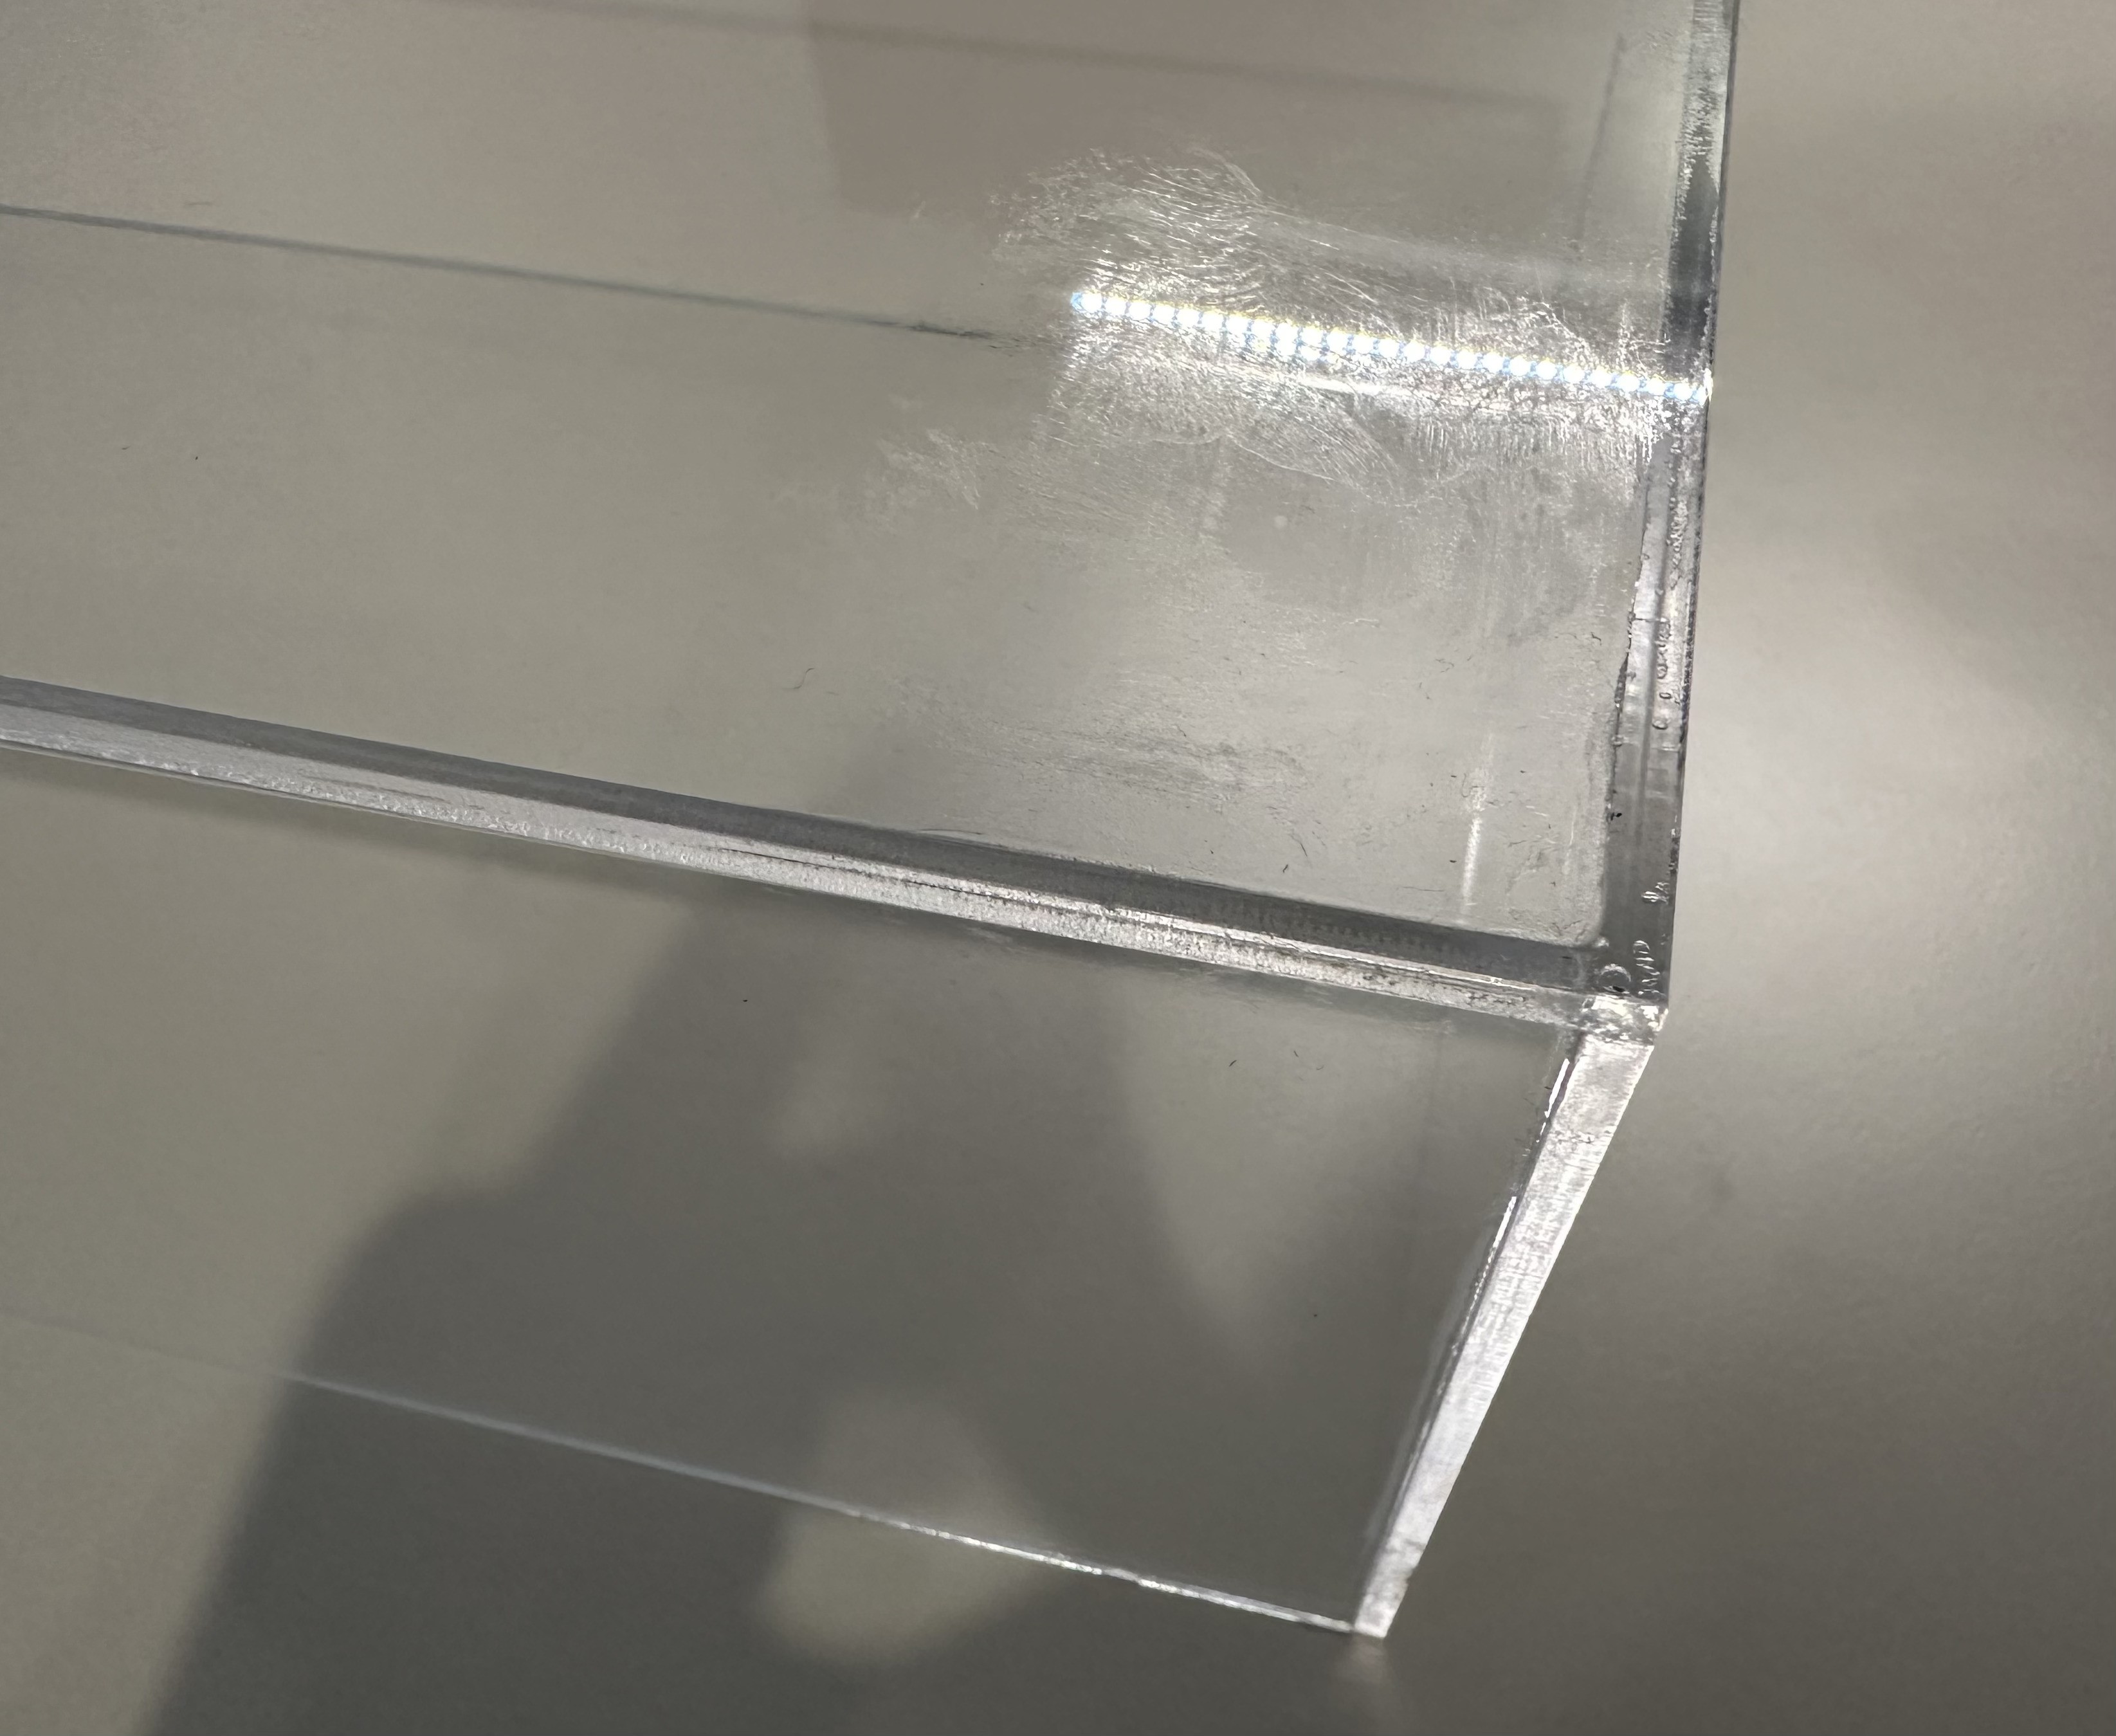
For the acrylic lid, I used the laser cutter again to cut the lid panels from a 3 mm acrylic sheet, before using acrylic cement (a special solvent that allows acrylic pieces to fuse together) to bond the panels into a box-like lid.
This was the most time consuming step of the manufacturing process as I had to stick the acrylic panels one by one and clamp them against wood blocks while the cement dried.
I also took extra care to ensure that I was only applying the acrylic cement on the panels' edges, as the cement would permanently smudge the clear panels if it was not immediately wiped from their surface.

The completed display lid after the acrylic cement dried. The acrylic panels' protective film had not yet been removed, hence their blurry appearance.
Permanent smudges left by the acrylic cement after drying on an acrylic panel.
Overall, the display case was not difficult to build and only took two days, during which I spent most of the time gluing pieces together and waiting for the wood glue/acrylic cement to set.
some final thoughts
I was quite pleased with the display case after placing my F1 model inside and setting it on my shelf, especially since the case felt quite robust and appeared similarly to those sold in stores.
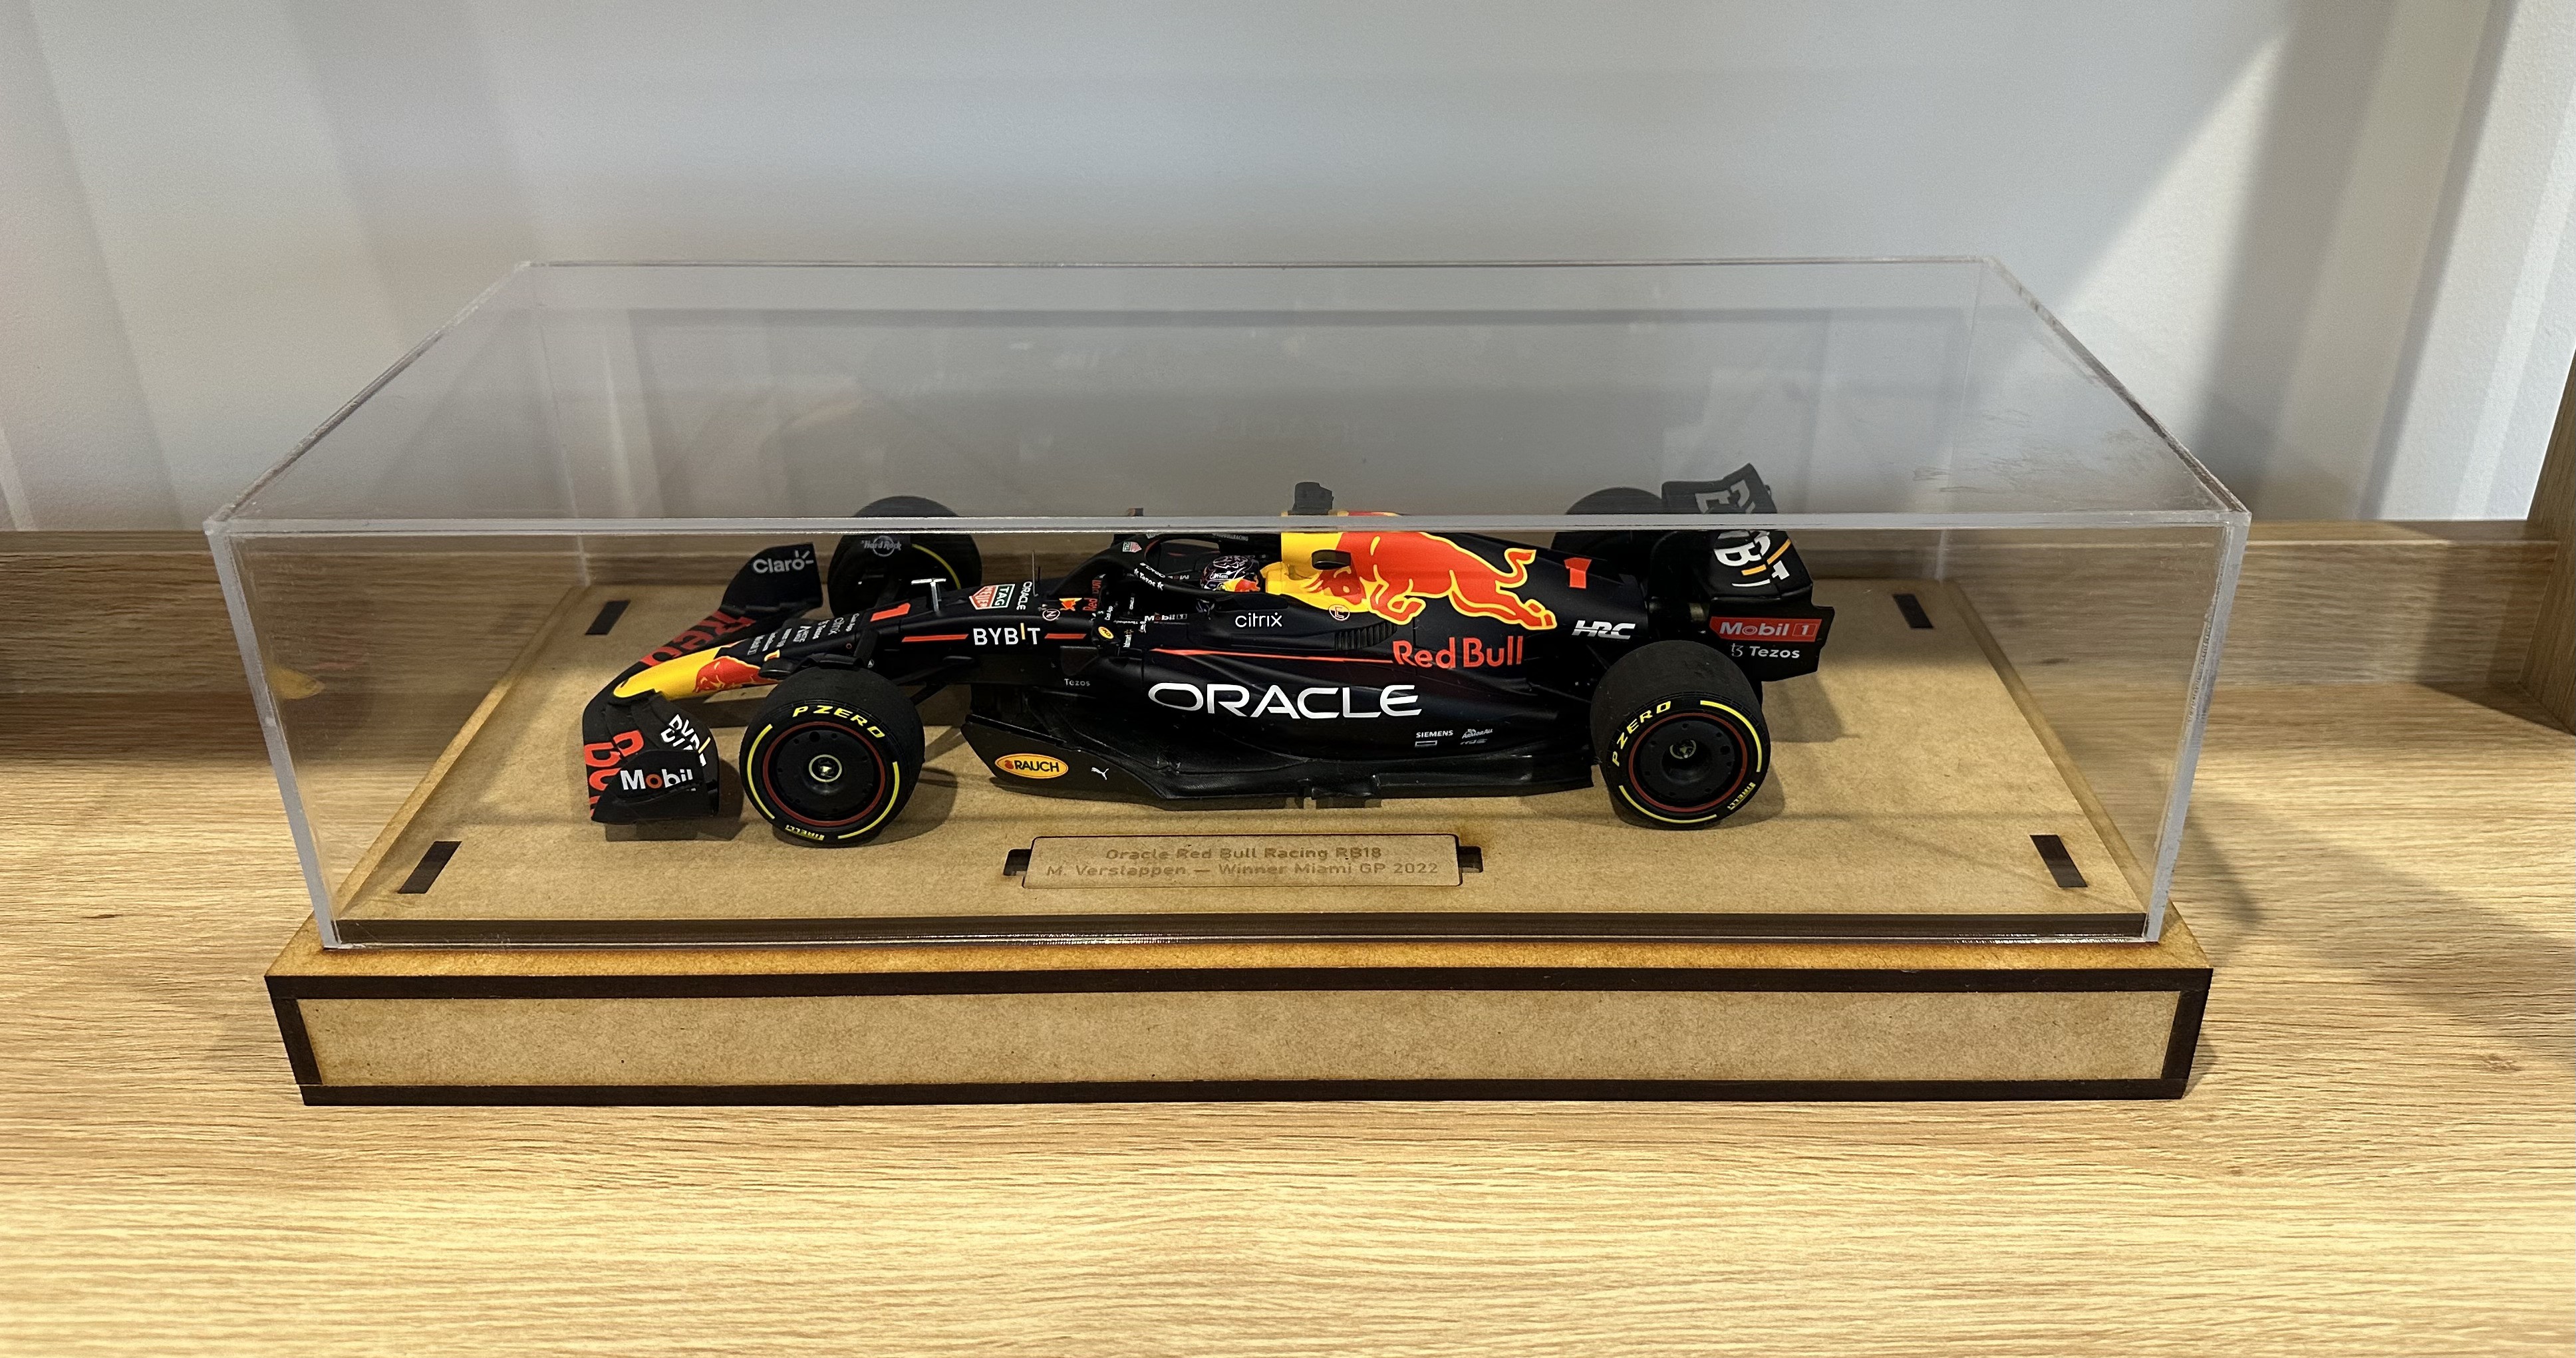
The completed display case with my F1 model inside.
Although I am satisfied with the display case, I would like to upgrade this case by incorporating a lighting system inside the base, where I might replace the top panel replaced by an opaque acrylic panel that allows the model to be illuminated by diffuse light.
The end result would be similar to one of the custom-built display cases that I found on Reddit (shown below), which has inspired me to try this upgrade in the near future.

A model display case built by Reddit user u/Mac27 with lighting installed in the base.
Image credit: Posted on Reddit by u/Mac27
tap/drag/pinch the model to explore
tap the dots beside to view other models
project name
Model Display Case
date
Nov. 2023
overview
As a Formula One enthusiast, I designed and built an acrylic case to display F1 models, which I recently begun collecting as a hobby.
background
Being an avid fan of Formula One, one of my hobbies involve collecting models of F1 cars.
After purchasing my first 1:18 scale F1 model, I was immediately excited to display it on my shelf. However, most F1 models feature delicate components and are rather difficult to clean, hence they are best displayed inside a protective case.
Hence, I spent some time browsing hobby stores and the internet for a 1:18 scale model display case, and came across numerous products that similar to those shown below:
A $70 display case.
Image credit: Slimline Warehouse
A $59.95 display case.
Image credit: Authentic Collectibles
A $149 display case.
Image credit: Onbrick
I noticed that most of these cases consisted of clear acrylic lids being set upon a resin, plastic, or wood base. Given the simplicity of these cases and their somewhat high price tags, I decided to design and build my own case.
key design choices
Similarly to many model display cases found in stores, my case consists of a wooden display base that is topped by a clear acrylic lid.
I decided to personalize the display case by designing its base with a recess that houses a removable plaque (see below). This was done so that I could swap plaques if I chose to display other models in the case.
The display base with a recess in which plaque can be placed.
I also liked the minimalist aesthetic of a frameless acrylic lid, so I did not design my case's lid with box joints along its side panels (see below), since the box joints are rather visually distracting. However, omitting box joints in the panels makes it more difficult to join them into a rectangular lid, as explained below in the manufacturing section.
A display case that has an acrylic lid with box joints.
Image credit: IBOWZ from Amazon.com
A joint-free display case that showcases the model without visual distractions from the box joints.
Image credit: Onbrick
Additionally, I designed the display base to have a removable top panel (shown below), since I wanted to fix the model to the display base with the screws that came alongside it.
The display base with its removable top panel.
manufacturing
I built my display case using the materials and equipment provided at the Telstra Creator Space, a fabrication lab used by University of Melbourne staff and students.
There were two major components for me to build: the display case's base and acrylic lid.
For the display base, I used a laser cutter to cut panels from a 6 mm MDF board, before using wood glue to stick them into a boxy platform.
I also used the laser cutter to engrave channels (pictured below) along the base's perimeter, so that the acrylic lid could be set on the base without sliding along its edges.
The channels engraved along the perimeter of the display base.
I later drilled holes into the display base's removable top panel for the model's mounting screws, as shown below.
The top panel of the display base with screw holes drilled into it.
For the acrylic lid, I used the laser cutter again to cut the lid panels from a 3 mm acrylic sheet, before using acrylic cement (a special solvent that allows acrylic pieces to fuse together) to bond the panels into a box-like lid.
This was the most time consuming step of the manufacturing process as I had to stick the acrylic panels one by one and clamp them against wood blocks while the cement dried.
I also took extra care to ensure that I was only applying the acrylic cement on the panels' edges, as the cement would permanently smudge the clear panels if it was not immediately wiped from their surface.
The completed display lid after the acrylic cement dried. The acrylic panels' protective film had not yet been removed, hence their blurry appearance.
Permanent smudges left by the acrylic cement after drying on an acrylic panel.
Overall, the display case was not difficult to build and only took two days, during which I spent most of the time gluing pieces together and waiting for the wood glue/acrylic cement to set.
some final thoughts
I was quite pleased with the display case after placing my F1 model inside and setting it on my shelf, especially since the case felt quite robust and appeared similarly to those sold in stores.
The completed display case with my F1 model inside.
Although I am satisfied with the display case, I would like to upgrade this case by incorporating a lighting system inside the base, where I might replace the top panel replaced by an opaque acrylic panel that allows the model to be illuminated by diffuse light.
The end result would be similar to one of the custom-built display cases that I found on Reddit (shown below), which has inspired me to try this upgrade in the near future.
A model display case built by Reddit user u/Mac27 with lighting installed in the base.
Image credit: Posted on Reddit by u/Mac27